The GIMP provides students an excellent tool for creating nonlinguistic representations of concepts. Whether creating diagrams, summarizing hypotheses, or creating graphics to accompany text, the GIMP can “represent.” “GIMP is the GNU Image Manipulation Program. It is a freely distributed piece of software for such tasks as photo retouching, image composition and image authoring. It works on many operating systems, in many languages.”
Below is a lesson using GIMP. The lesson assumes a basic knowledge in using a search engine, downloading files, organizing files within folders and understanding and using technology systems. The lesson also assumes a well-articulated project. The lesson works best in tandem with written work such as a research paper, report, scientific hypothesis, etc. Through the process of developing this image, students should be reflecting on their written words. The process may help clarify some ideas, causing students to further revise their written work.
TOPIC: Creating nonlinguistic representation of a thesis statement.
AUDIENCE: High School English students
PURPOSE: Students will be able to clarify their thesis into a single nonlinguistic representation.
OBJECTIVES:
APS Secondary writing continuum: Relies on self-reflection and critical evaluation of own writing to ensure effective communication of ideas.
ISTE NETS: 2b. communicate information and ideas effectively to multiple audiences using a variety of media and formats.
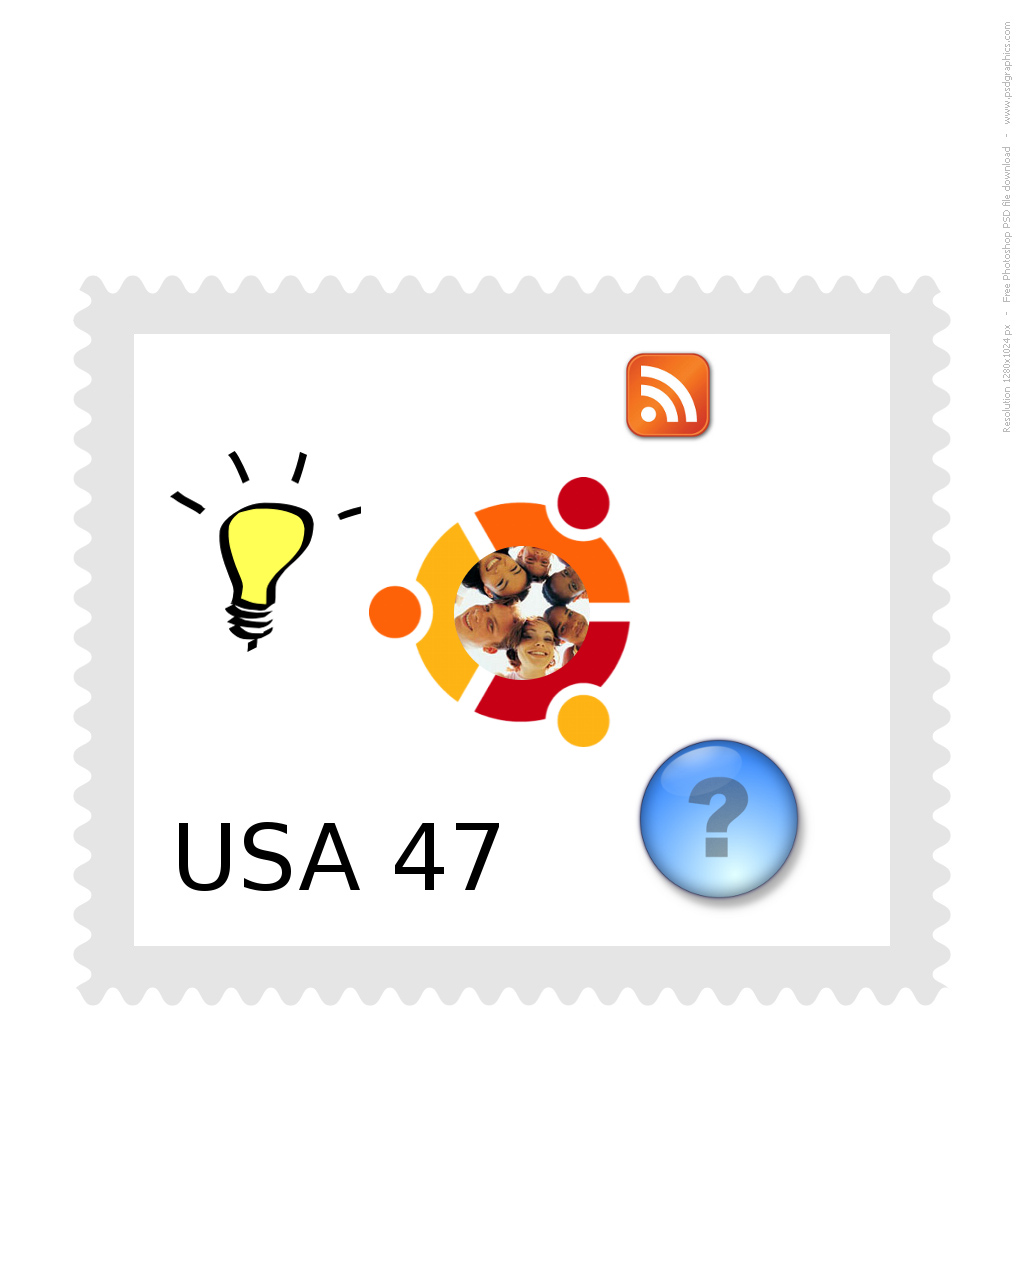
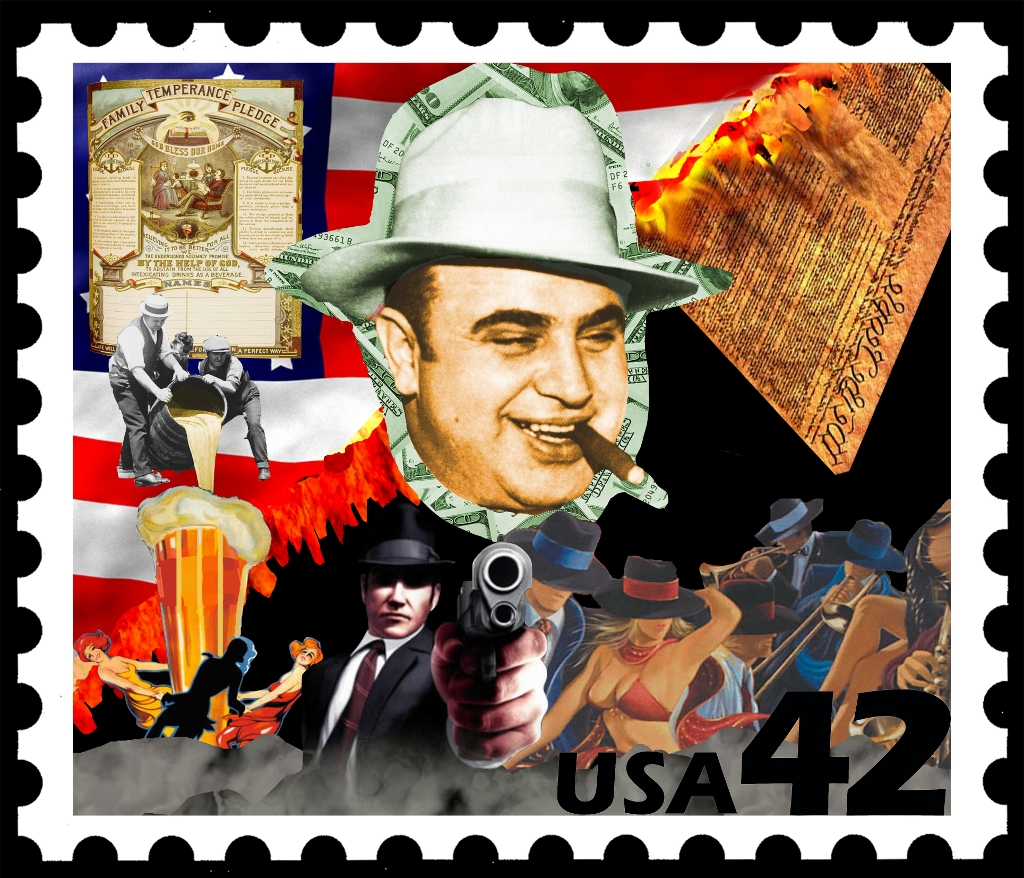
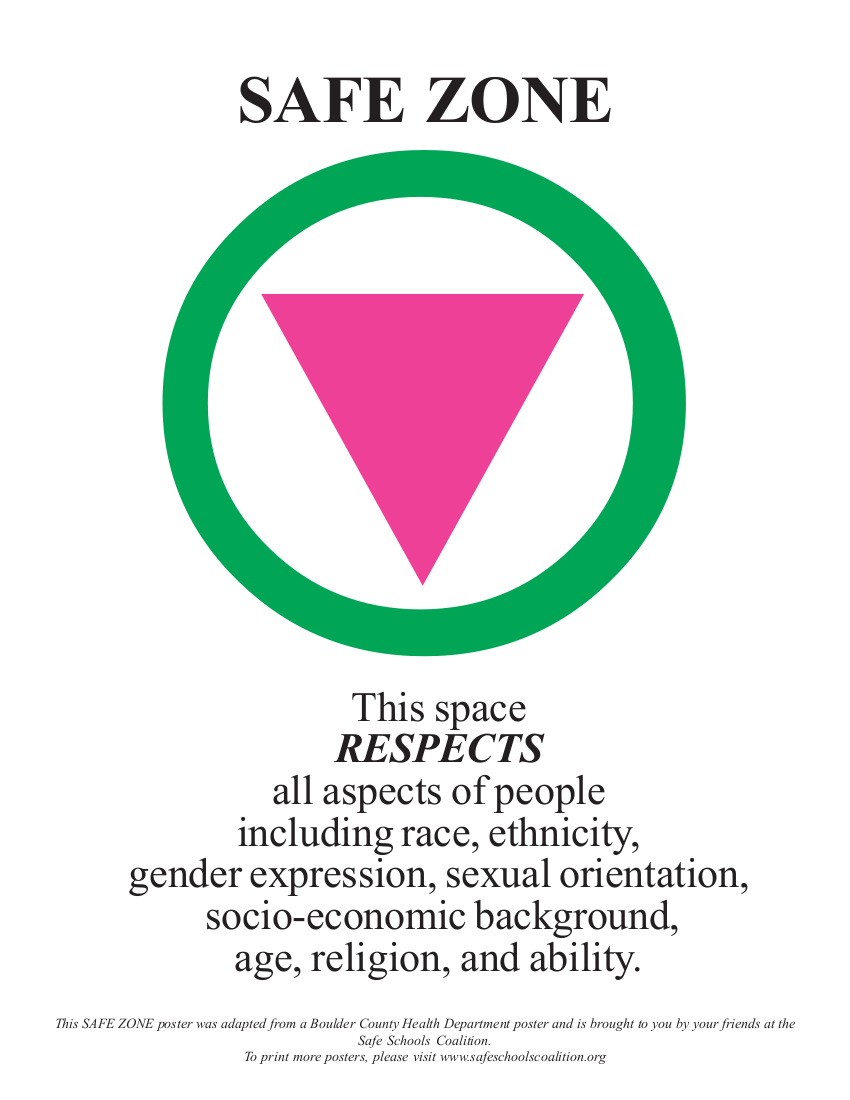
GOAL: Create a stamp that represents your opinion. For example, “Linux offers students a way to research, create and communicate.”
ASSESSMENT: Using google forms, peers report what they believe their peer’s thesis statement is. If the student’s peer is able to successfully able to predict the thesis statement, the student has passed.
STEPS
Create a non-linguistic representation of your thesis statement.
1. Decide which images you need to express your idea.
2. Choose the sources finding the right images.
3. Locate the images, download them to a folder. Record the location of the image for your bibliography.
4. Consider your images. Choose the images you’ll need and decide how they’ll fit together.
5. Combine the images using GIMP to compose a single image that expresses your main idea.
6. Consider your image. Does it successfully represent your idea? If not, go back to step 1.
EXAMPLES:

VOCABULARY:
toolbox, tool options, image window, layers, brushes, patterns, crop
RESOURCES:
SOURCES:

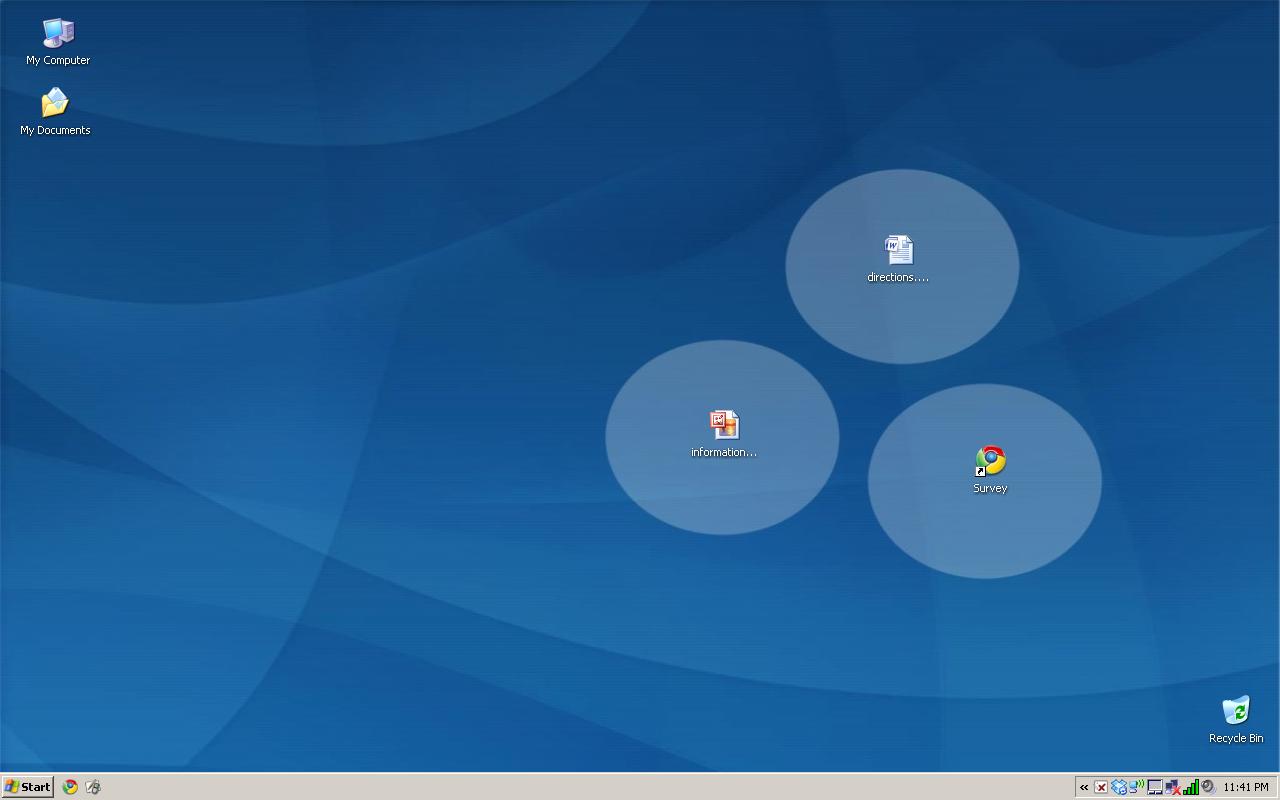
 Give your desktop a makeover.
 Evaluate the data.
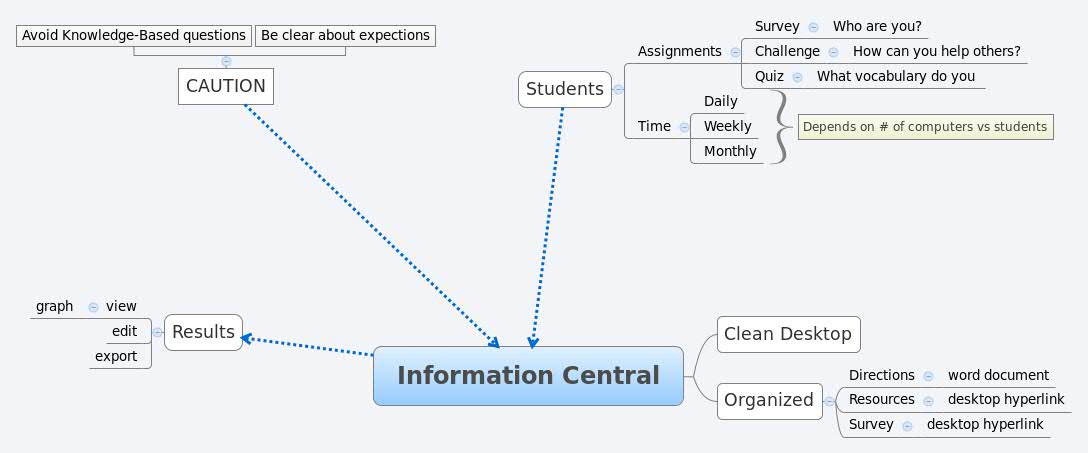


