In order to familiarize with some of the tools installed on the netbooks. We are going to use a few to create a presentation for your students. The purpose is to share the learning goals you developed this morning in order to demonstrate Life-Long Learning. If you have something more pressing that you would like to present, please do so.
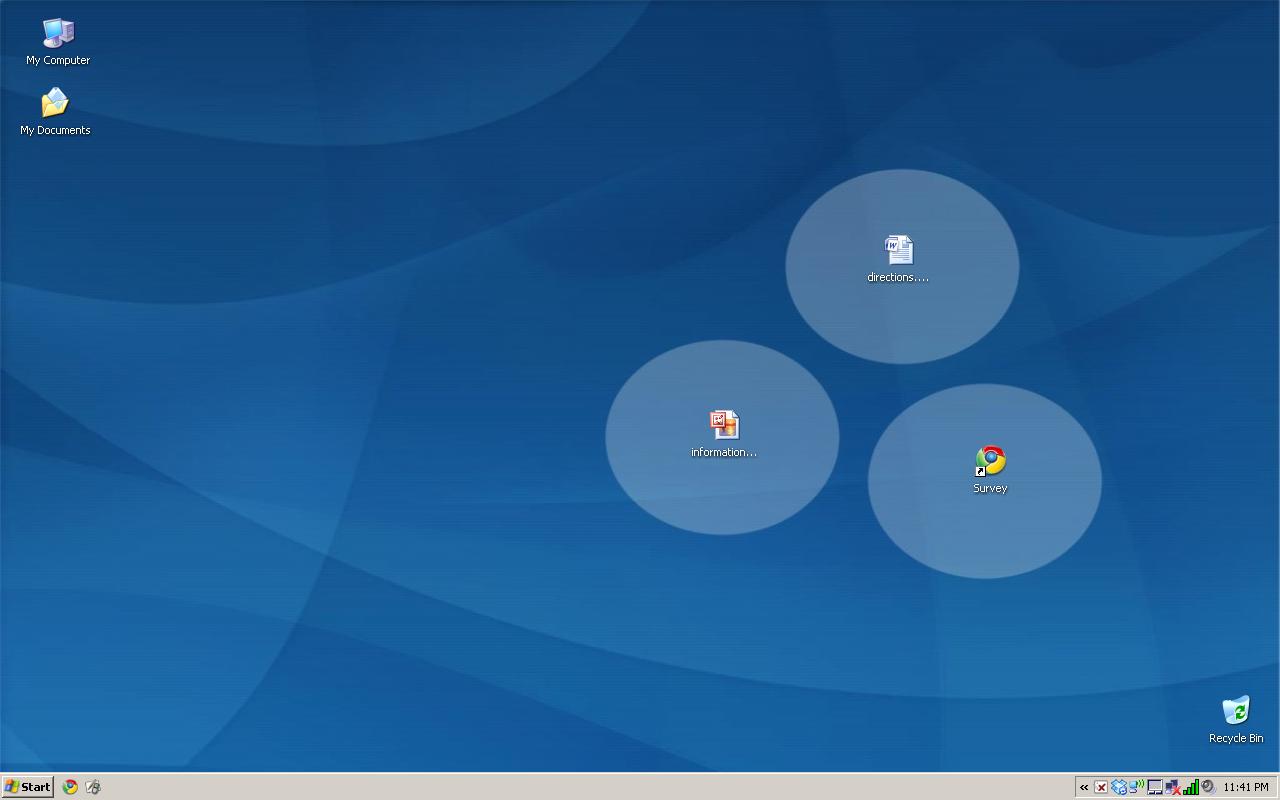
At the completion of this project you will have a flipchart that you will use to present to your students and/or colleagues. When we’re done, you’ll have these items on your desktop, .xmind, .png, .doc, .aup, .mp3, .jpg, and a .flipchart.
First create a folder on your desktop titled EETT. This will be where you’ll put everything when you’re done creating.
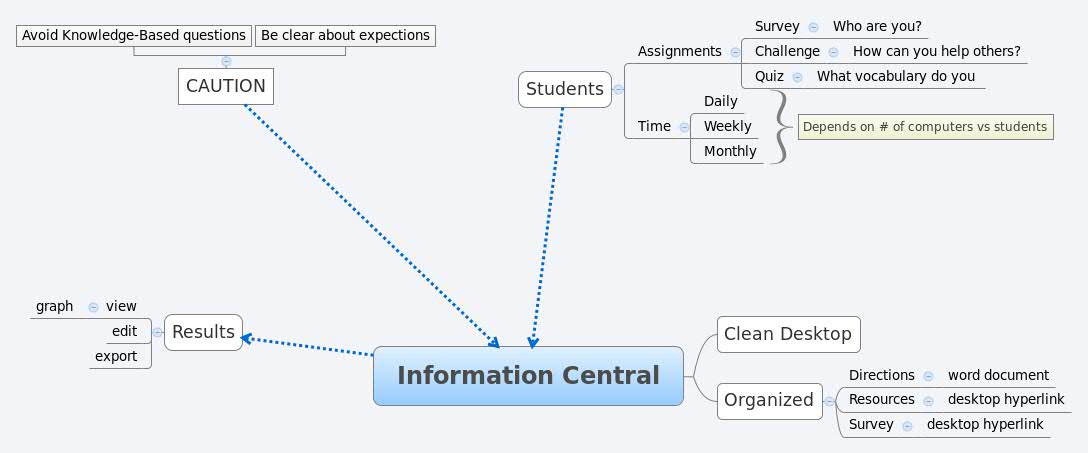
 To start with, let’s use Xmind to organize our thinking. Here’s an example of how your graphic organizer may take shape.
Use Screenshot to capture your graphic organizer if xmind is not exporting as an image. Save the file to the desktop.
Next, open Open Office.org to compose your ideas. Remember to use your ideas gathered from the graphic organizer. We’re going to record your voice next so be sure to write fluent sentences.
Now open Audacity. Using your most sincere voice. Record your writing. Export it as an .mp3 to the desktop.
Use Cheese to take a picture of yourself for your project. Drag it to the desktop.
Open ActivInspire and whip your media into a presentation.


 This work was scanned and the author’s voice recorded. Now she has work that can be shared across the United States to where her grandparents live. It can be shared anywhere! Even more important, is the thrill the student experienced at being able to hear her own voice and see her work in this format. Now she’s creating lists of story ideas and writing more stories than is possible to record. This is a great thing. She’s forced to choose her very best work to publish. She’s thinking and acting like a real author because she is one. This story below is what lit the literary fire for her. Disclosure: The author is my delightful daughter.
 By the way, the story above was created on a
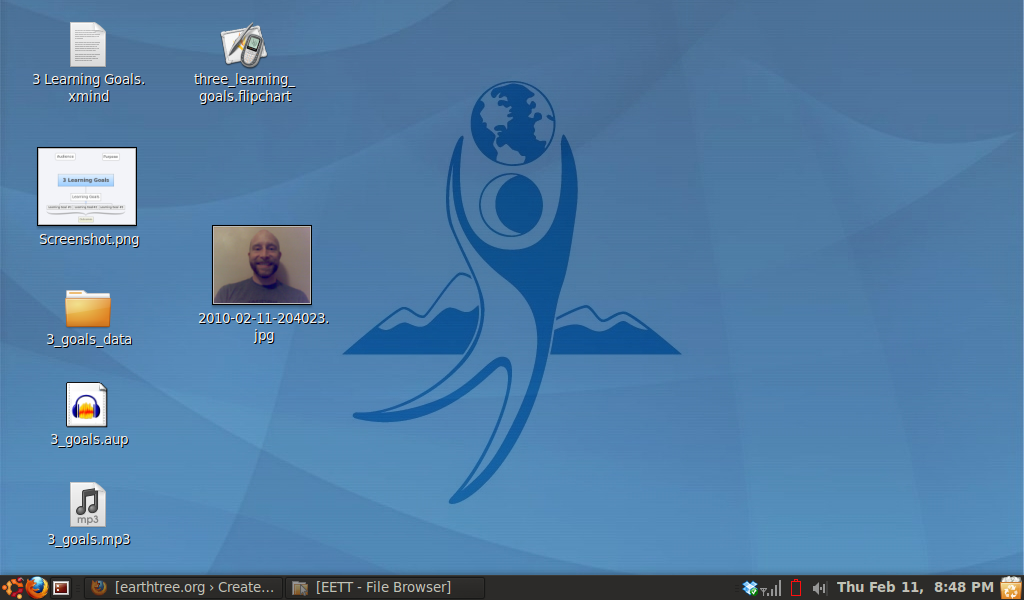
